Chorus Top and Dress – Love Notions
TGIF! And you know what that means… not only is the weekend within reach, it’s Feature Friday at Love Notions 😄
Today’s featured pattern is the Chorus Top and Dress. It’s the first time the pattern is on sale, and can be snagged for $6, today only.
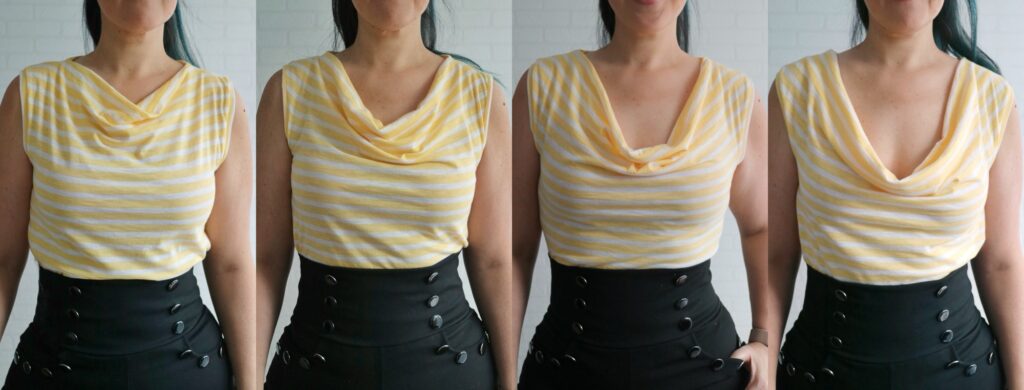
To celebrate the occasion, I’m in the LN blog showing you how to modify the depth of a cowl neck, an easy way to add another layer of customization to the pattern.
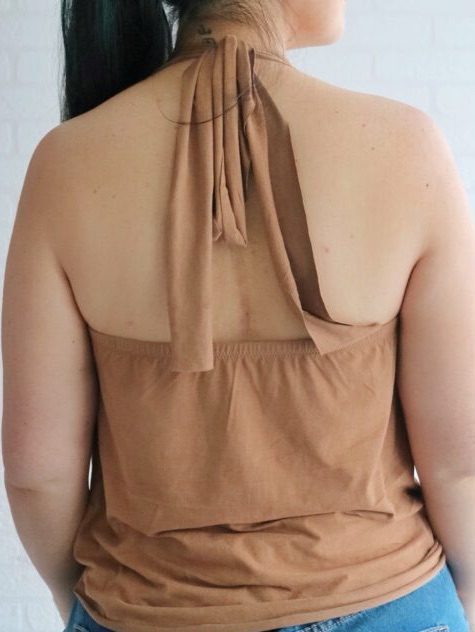
And as a bonus treat, I’m sharing another fun and easy Chorus pattern hack. With just a few simple tweaks, you can turn it into a cute halter top.
Perfect for warmer weather or to be layered under jackets or cardigans.
Why Chorus?
This pattern has beautiful lines and drape, making it the perfect base for a halter. Plus, the built-in facing makes the process a breeze. 😉
What You’ll Need:
- Chorus pattern (front and back panels)
- Your regular sewing supplies
- Ribbon, or straps made from same fabric as your top
NOTE: The tutorial is made with a scaled down pattern to make it easier to photograph.
Step 1: Choose Cowl Depth
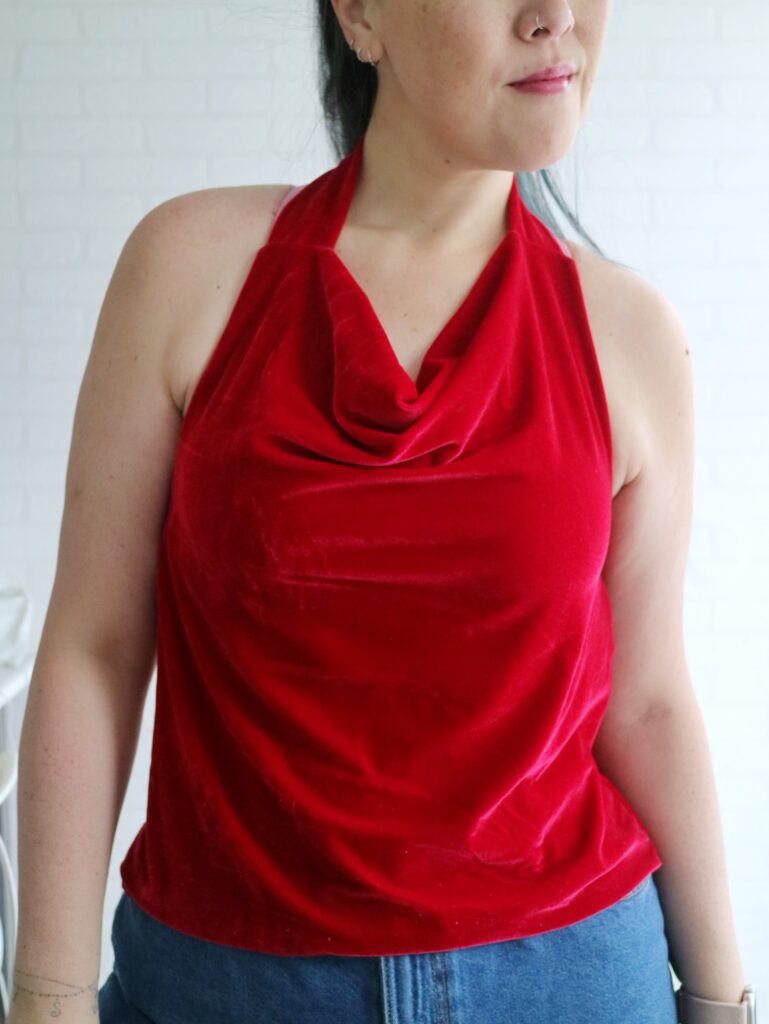
First thing to keep in mind is that bringing the cowl a bit in when tying it around the neck will make it a bit lower than the original top.
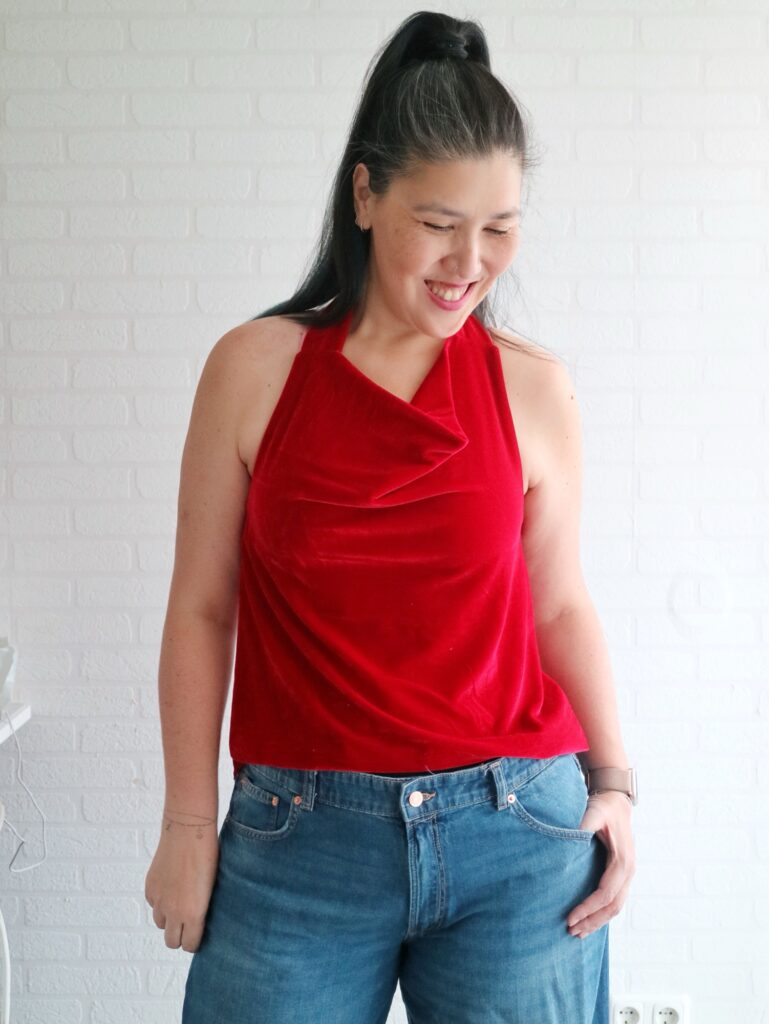
For this red one pictured above I used the original shallow option from the pattern.
Step 2: Adjusting the Pattern pieces
Here there are 2 routes to go…
- Keep the pattern piece as is and finish the armscye with bias tape or the fold over method, or
- Turn the cowl facing into a front bodice lining so you have an extra layer over the bust for added comfort and “support” and a cleaner finish of the armscye without visible seams.
I chose to go the second route and this is what I’ll be explaining here.
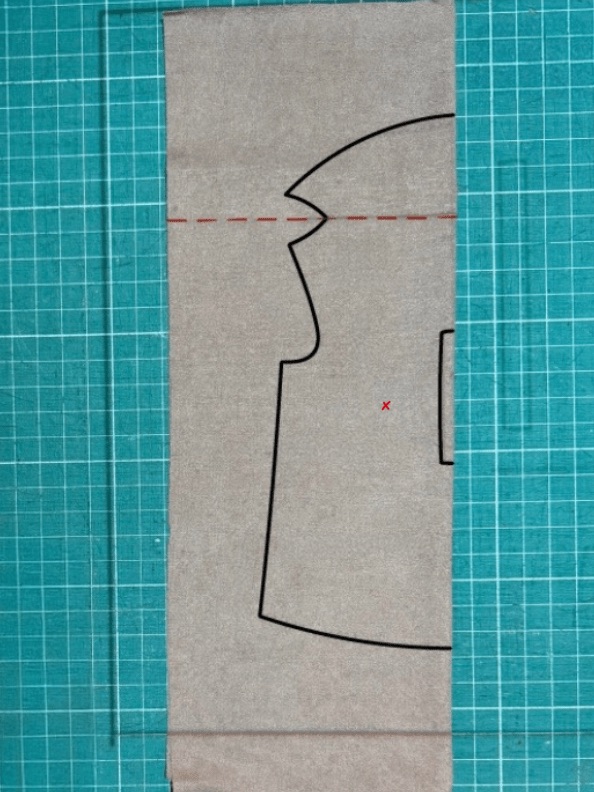
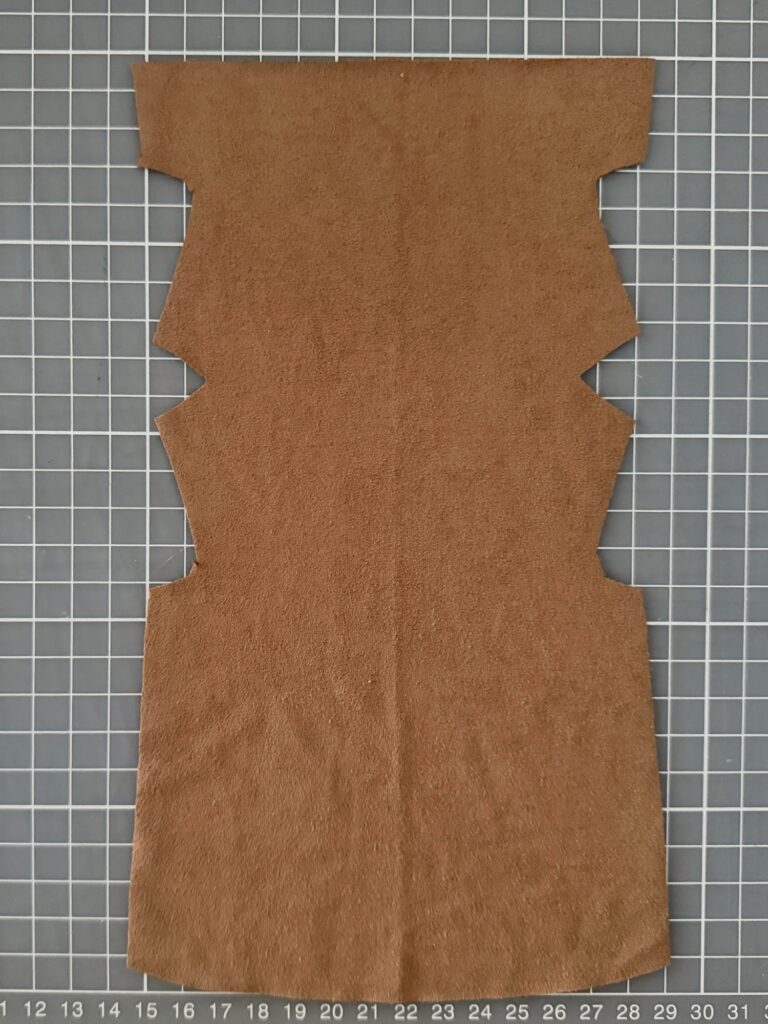
Step 2.1 – Front Bodice
To turn the facing into a front bodice lining is super simple. You can opt to modify the pattern piece itself, or adjust it as you cut the fabric (which is my preferred way to do it).
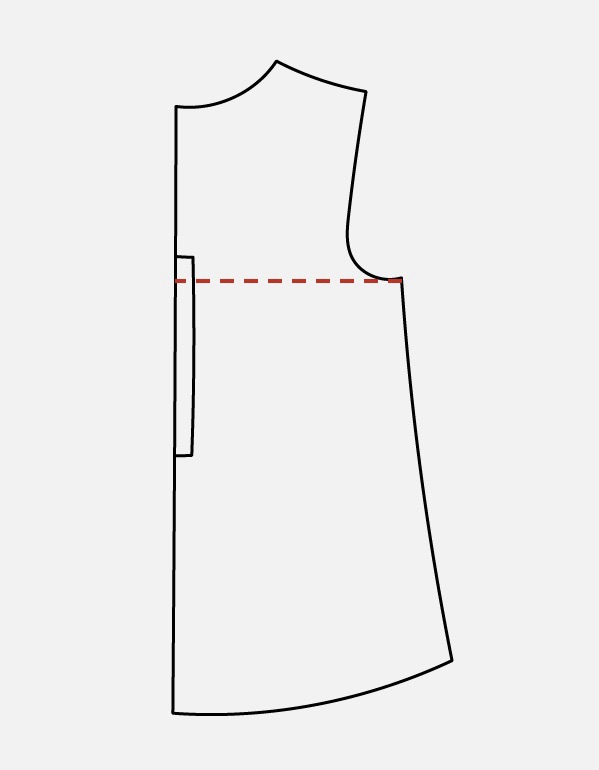
The first thing you need to do is find the line where the cowl facing will fond on itself as shown below:
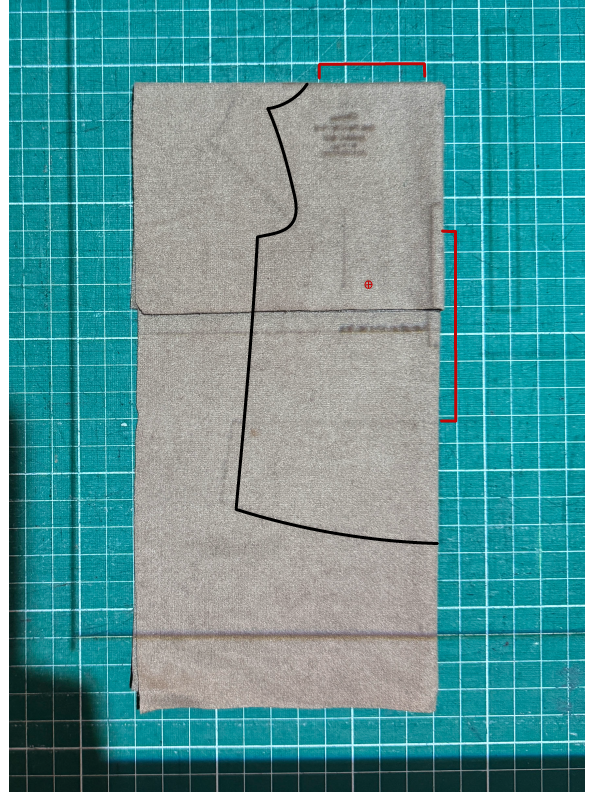
Next you’ll fold your fabric down, aligning the fold with that line and making sure that the folded piece ends below the bust mark.
The fabric will be folded in 2 places, along and perpendicular to the grainline.
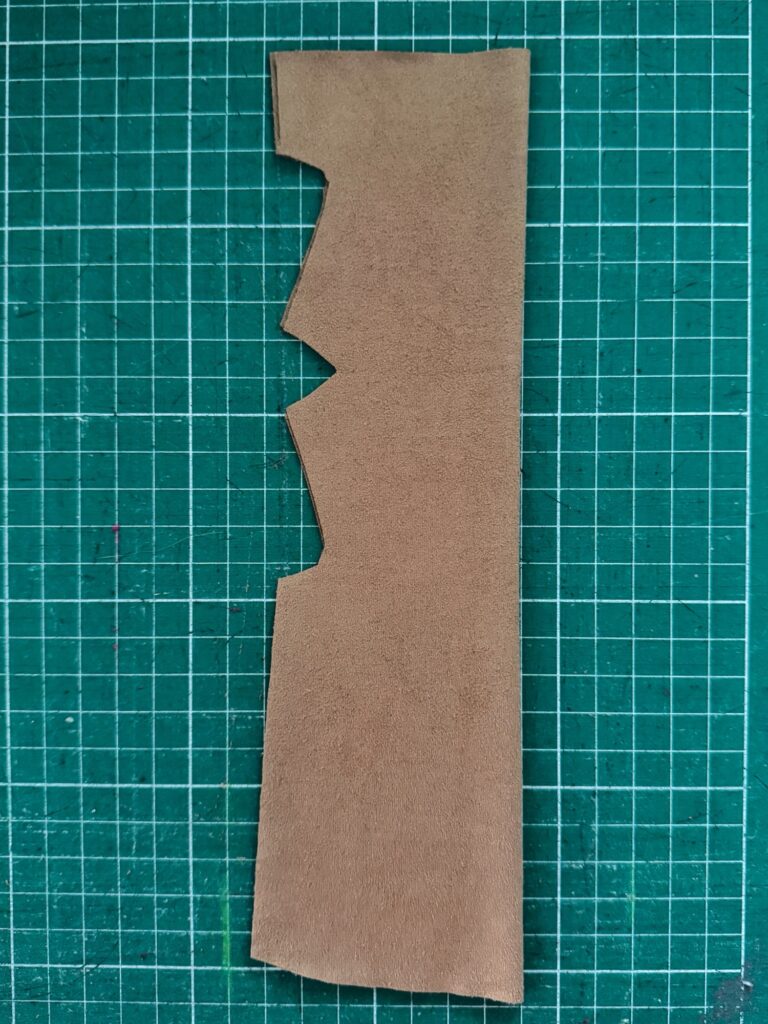
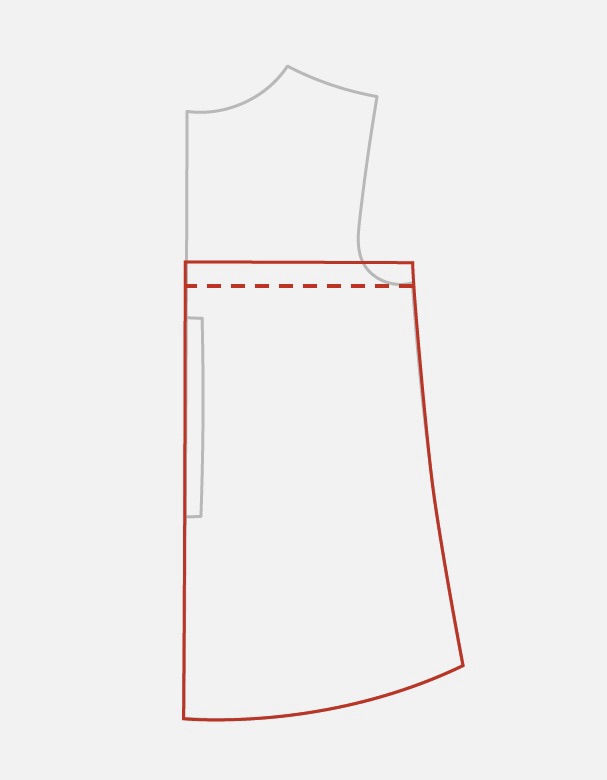
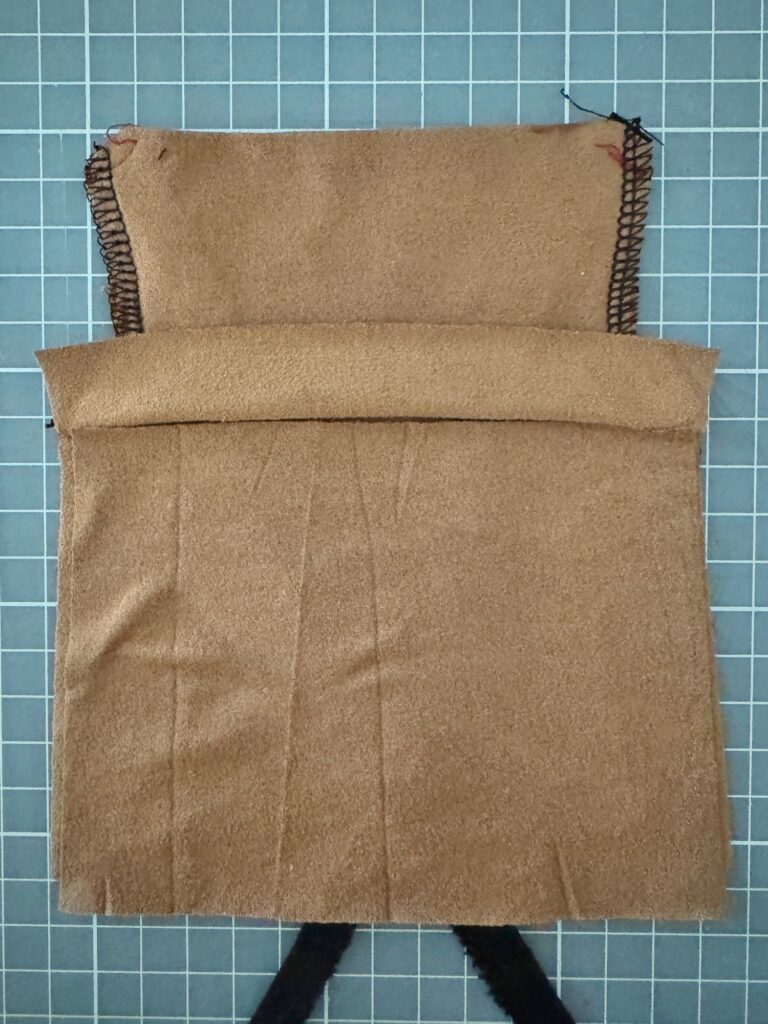
After cutting, this is what your front bodice will look like:
Step 2.2 – Back Bodice
For the back bodice we’ll need to cut it from the end of armscye straight across to the center back. Don’t forget to add seam allowance.
Depending on your fabric, it may be best to add elastic to the back to hold it in place. If you choose to do so, also add that space to the top edge according to what size elastic you’ll use.
Ok, time for the fun part!
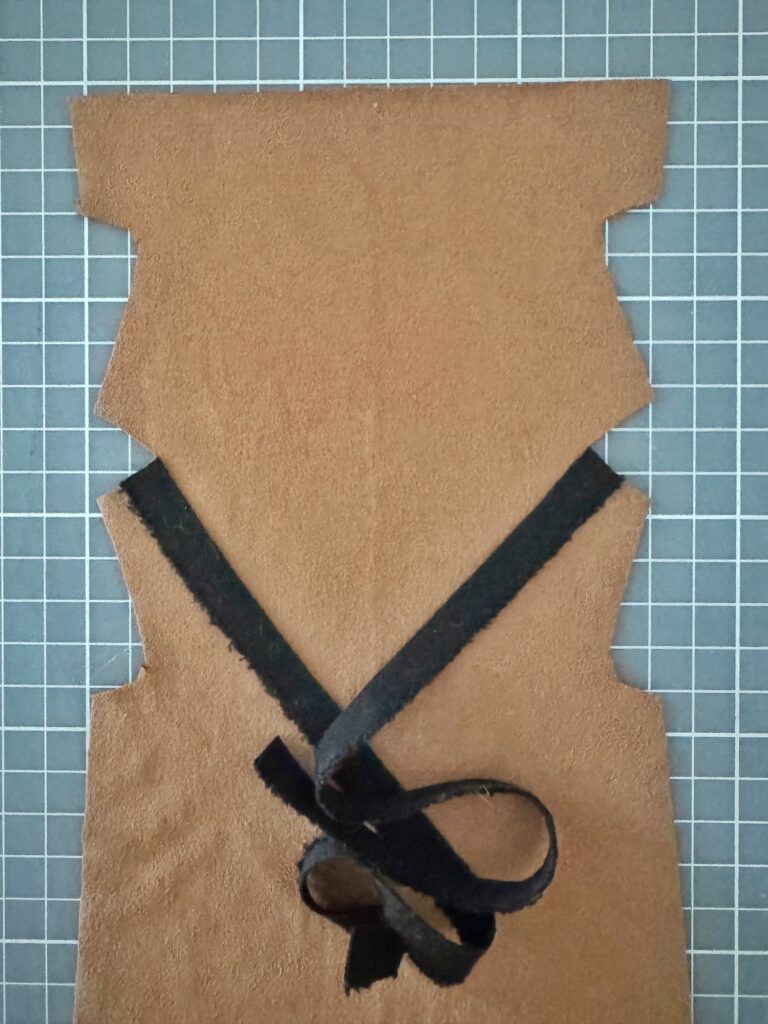
Step 3: Sewing the top
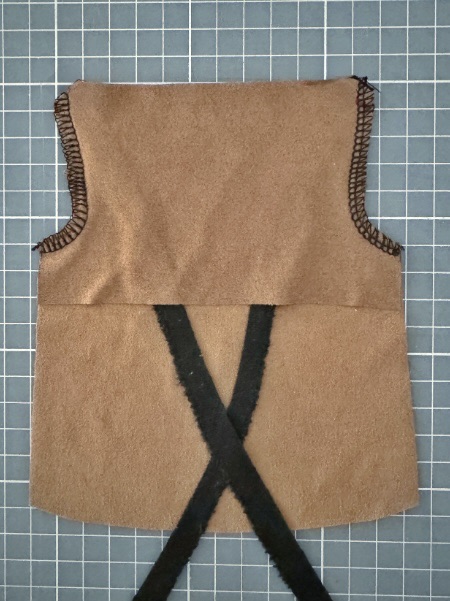
With the front bodice right side up, place the straps as shown, making sure it’s right at the inner edge of the shoulder seam.
Fold the lining over the straps, making sure everything is aligned and sew it securing the straps.
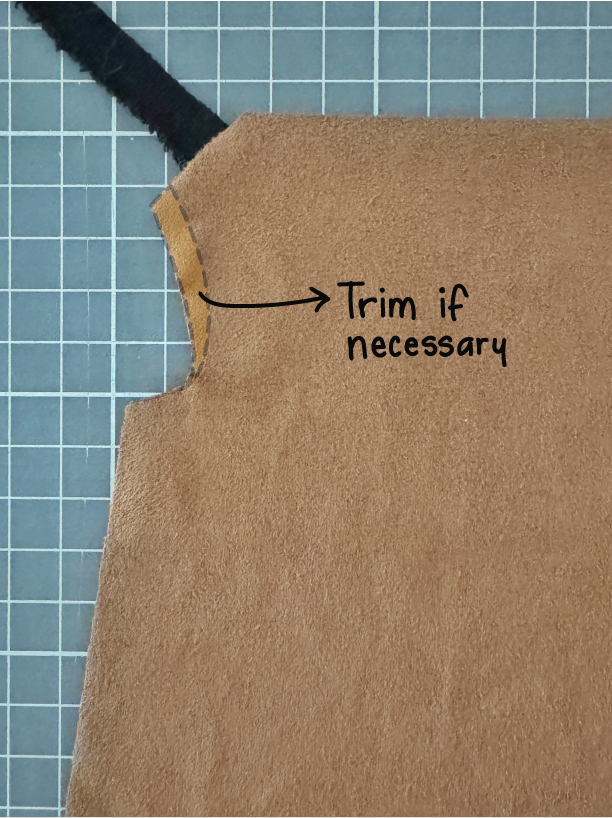
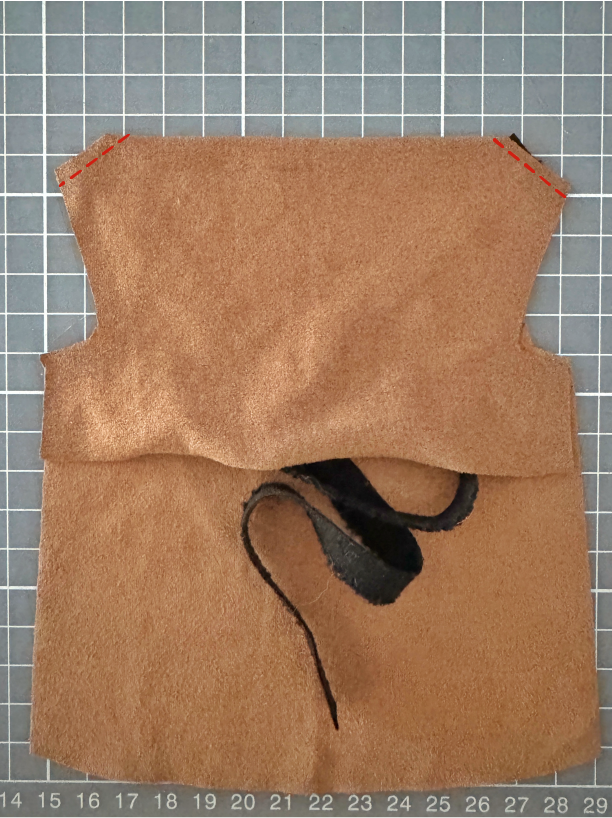
Next, we’ll be finishing the armscye. If your straps are narrower than the shoulder seam as this example, trim the excess but don’t forget to leave the seam allowance.
Sew the armscye with lining and front bodice right sides together making sure you don’t catch the straps in between.

I goofed and forgot to illustrate this step 🤦♀️ (the scaled down model was too small and finicky so I skipped it 😬).
But now you’ll be sewing the elastic tunnel on the top edge of the back panel and then proceed to thread it and baste it in place.
After that is done, it’s time to put it all together!
Sandwich the back between the front panel and the lining. Right side of the lining will be to the wrong side of back panel. Back and Front panels will be right sides together.
Sew it straight down, catching all three layers.

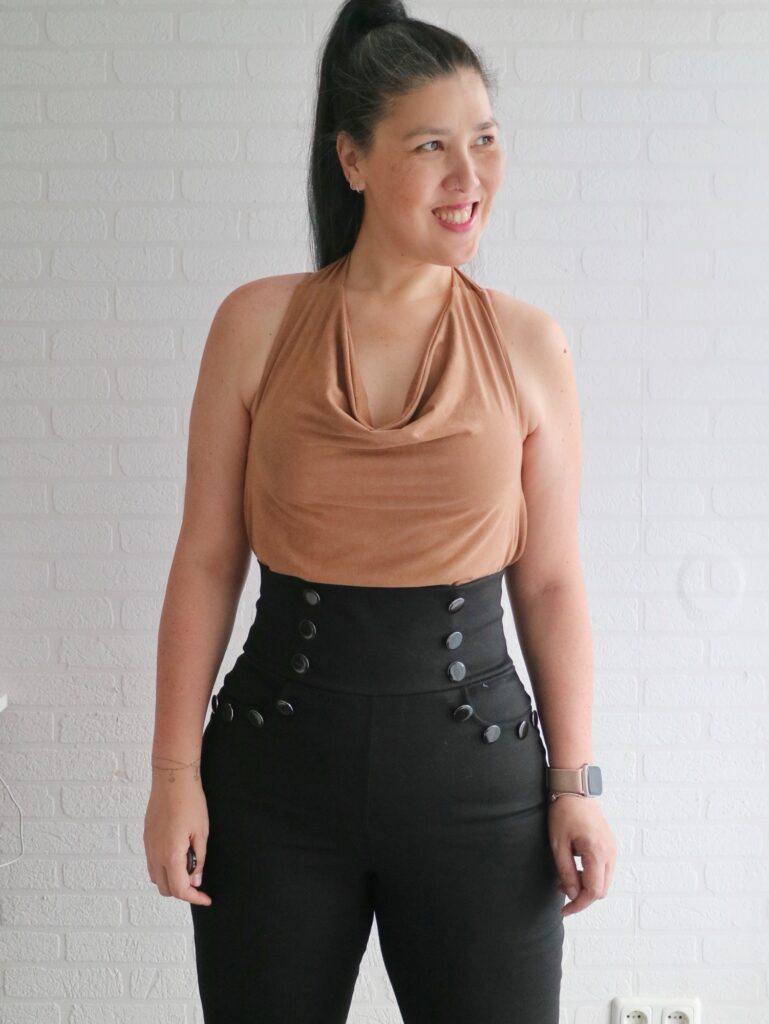
Turn everything right side out, hem your top and that’s it, you’re done and ready to rock your brand new halter top!
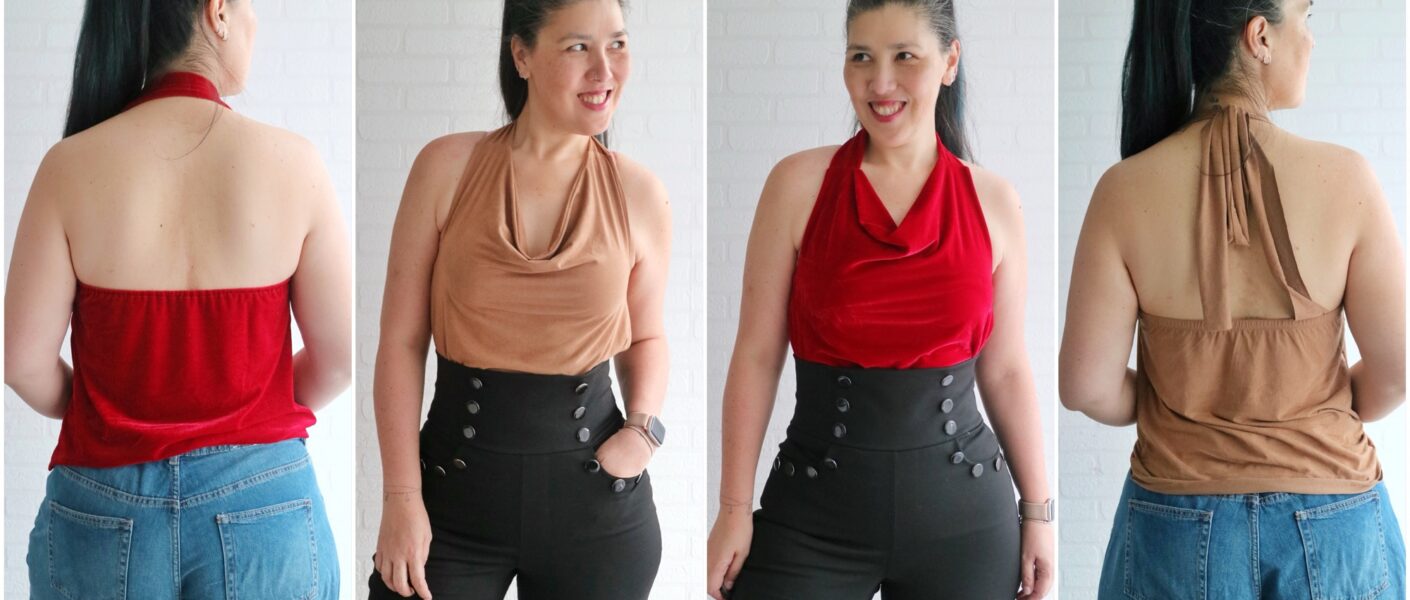
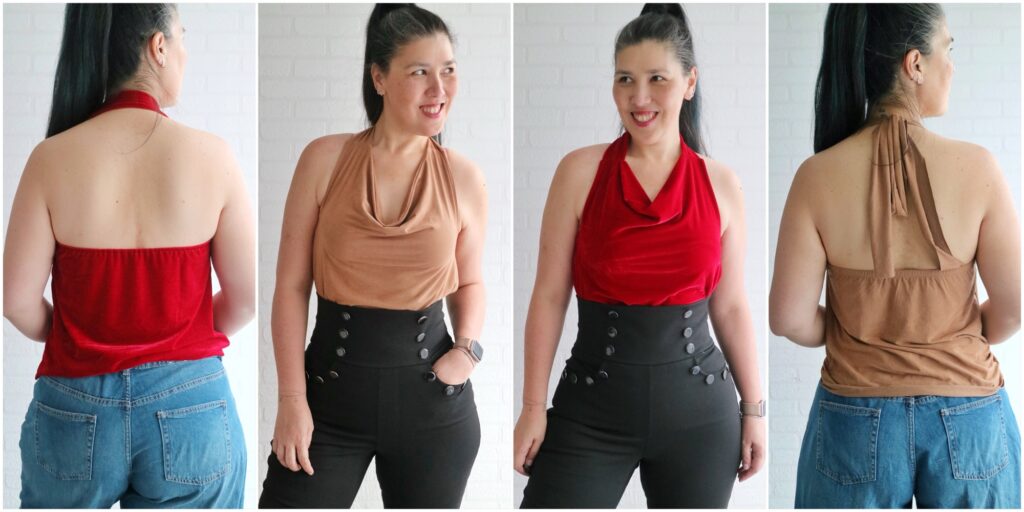
For this one I used the moderate cowl hack I show at the LN blog post. It’s in between the original Shallow and Deep options.

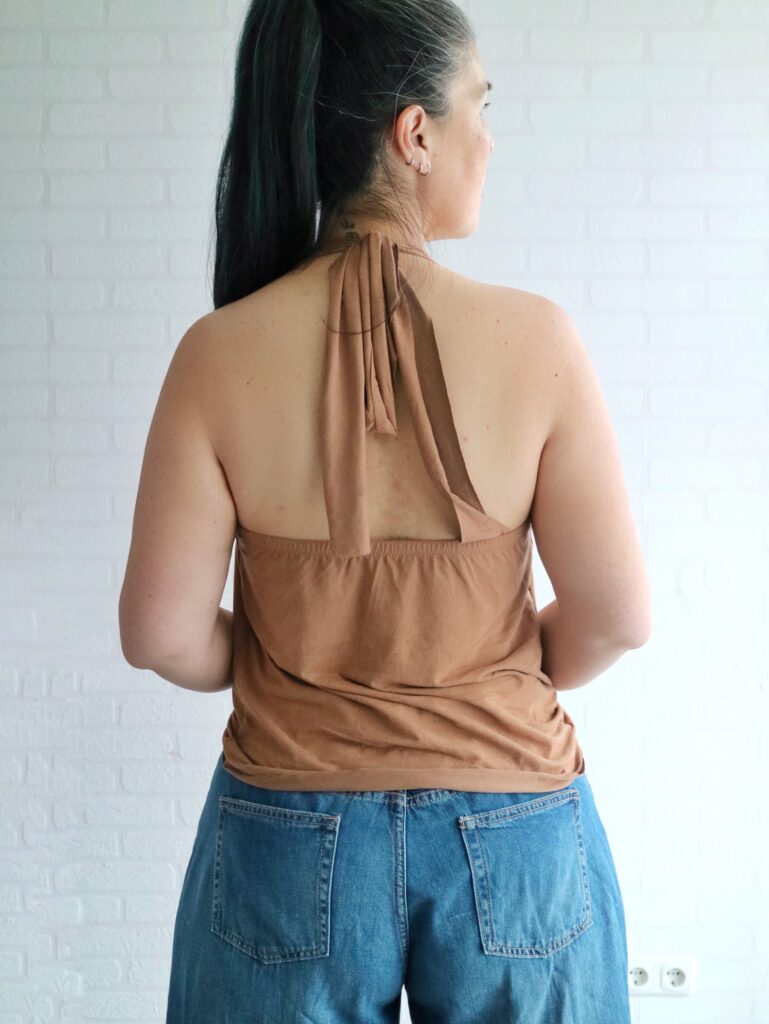
I love this lightweight suede knit. It gives a bit of country vibes and I’m here for it!
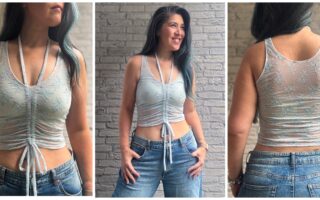
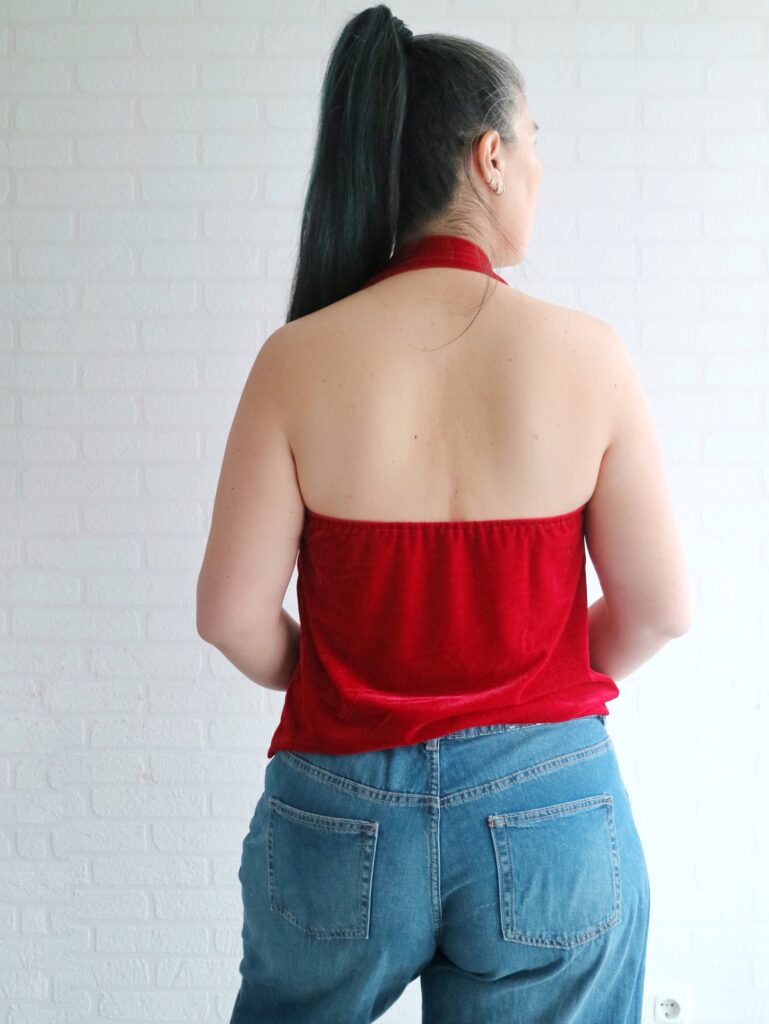
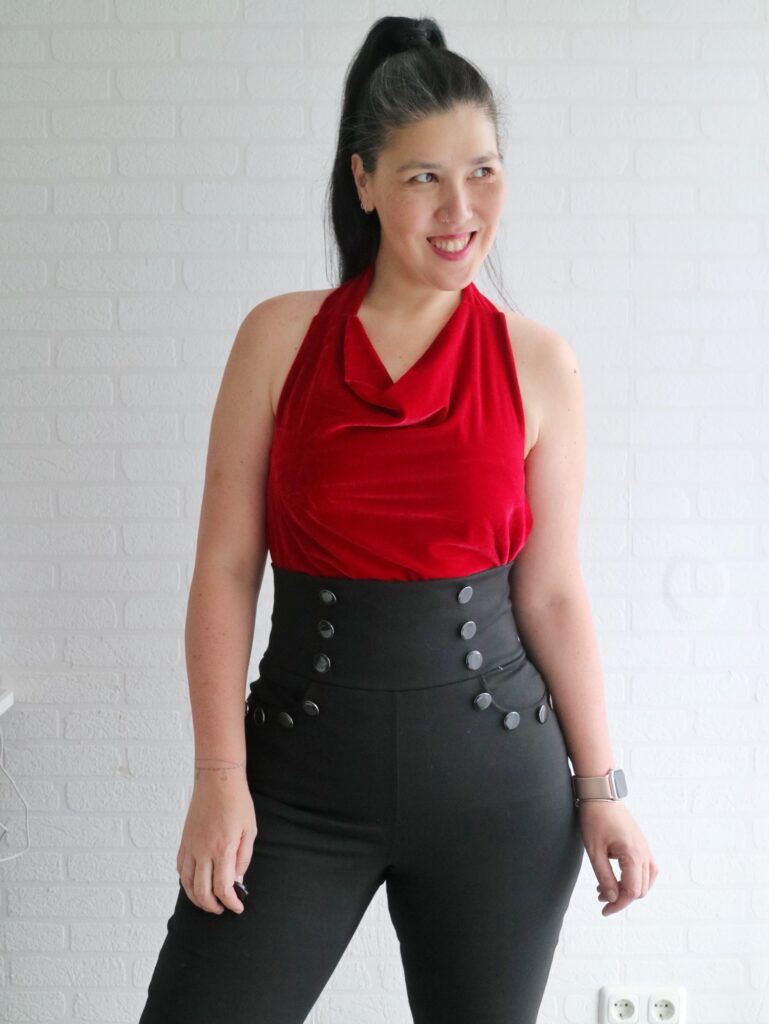
For this next one I used velvet scraps I had from 2023’s Secret Sewist and wanted it to be a bit more elegant, so I used the Shallow cowl and instead of 2 straps I used one and made a loop instead.
Simply attached it on one side, and tried it on around my neck to determine the size it should be before securing the other side. Keep in mind that the fabric needs enough stretch to go over the head.

I really like this variation of Chorus and how fun and simple it is to keep finding ways to incorporate this beautiful pattern into my wardrobe.
If you have any questions, feel free to reach out!

Don’t forget to check out the How to Modify a Cowl Neckline post on the Love Notions Blog, and if you’d like to support my sewing adventures and experiments, I’d love if you used my afflink when purchasing the pattern ❤️
CHORUS TOP AND DRESS – Love Notions
And if you decide to give this halter hack a try, I’d love if you’d tag me so I can ooh and aah over your beautiful creations! ☺️
xxx, Livia