Road Trip bodysuit – George+Ginger
I’ve sewn quite a few bodysuits and one-piece swimsuits, but G+G’s Road Trip is still my go-to, especially when it comes to hacking/modifying it.
It has an awesome fit and it’s easy to grade and lengthen it making it a faster sew for me.
- Side note: I feel I should make a bodysuit/leotard patterns side by side comparison like I did with the leggings… Is that something you’d be interested in seeing?
I love different ones for different reasons, could be interesting to see them side by side.
But as I was saying… the Road Trip.
It’s been updated to the new size chart (tween 12 to 5X) and it’s just as great as it ever was.

It features a regular front or lace up option, 4 sleeves to choose from, a shaped back and a snap crotch option.
To celebrate the update and the fact that it’s the pattern of the month at G+G’s website I wanted to do a hack but life got in the way (as it usually does) and here I am, posting it 2 days to the end of the month… Better late than never? 😀
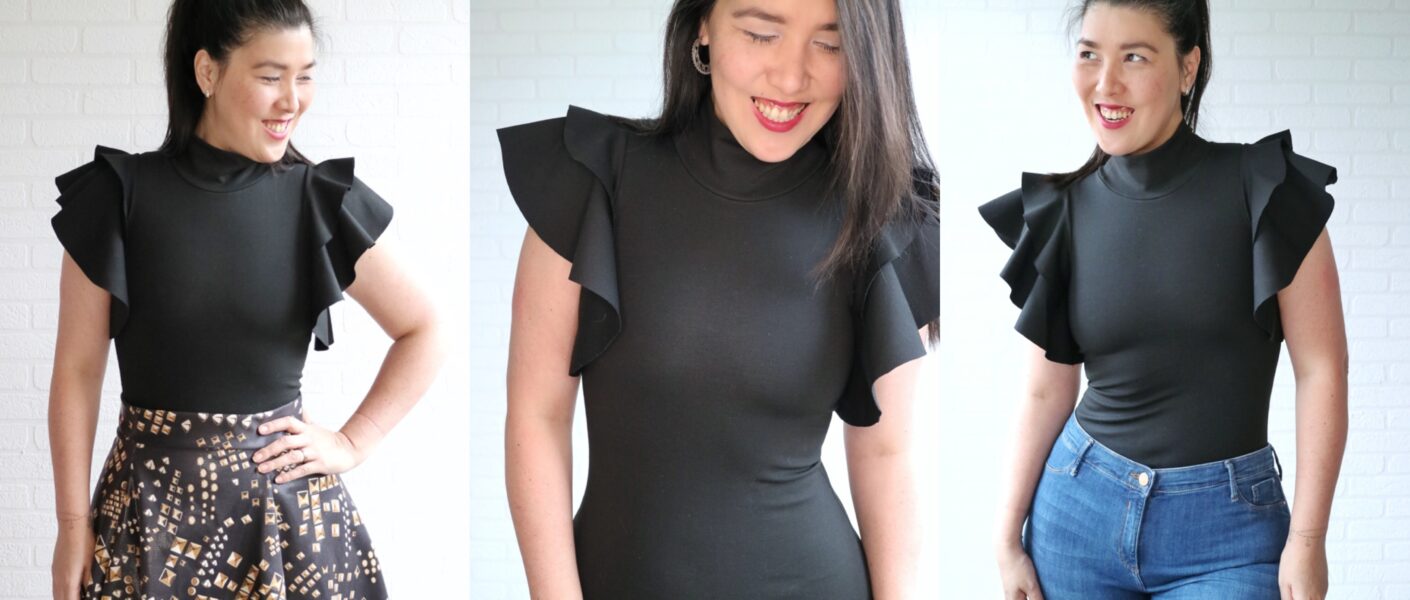
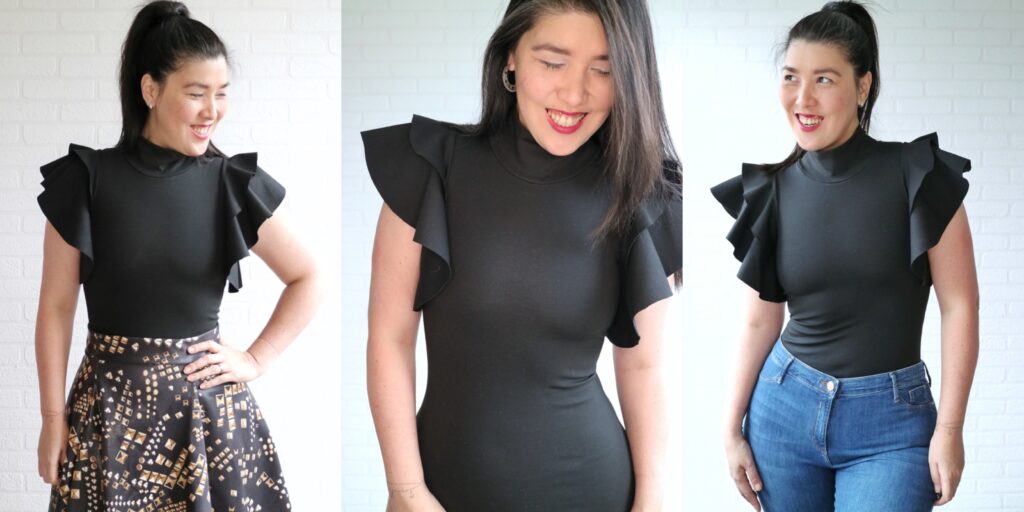
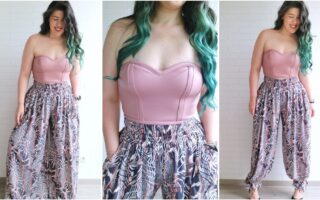
I gotta say… I’m obsessed with this one y’all.
This is my favorite kind of hack: simple yet impactful.
I know I’ve said it before, but I love a good dramatic sleeve!
So, what did I do?
- Raised both the front and back necklines. I used the Posh Top as a guide, but you could eyeball it or just use any other pattern;
- The turtleneck piece is 5″ (folded, so 2.5″ when ready) x 85% of the neck opening;
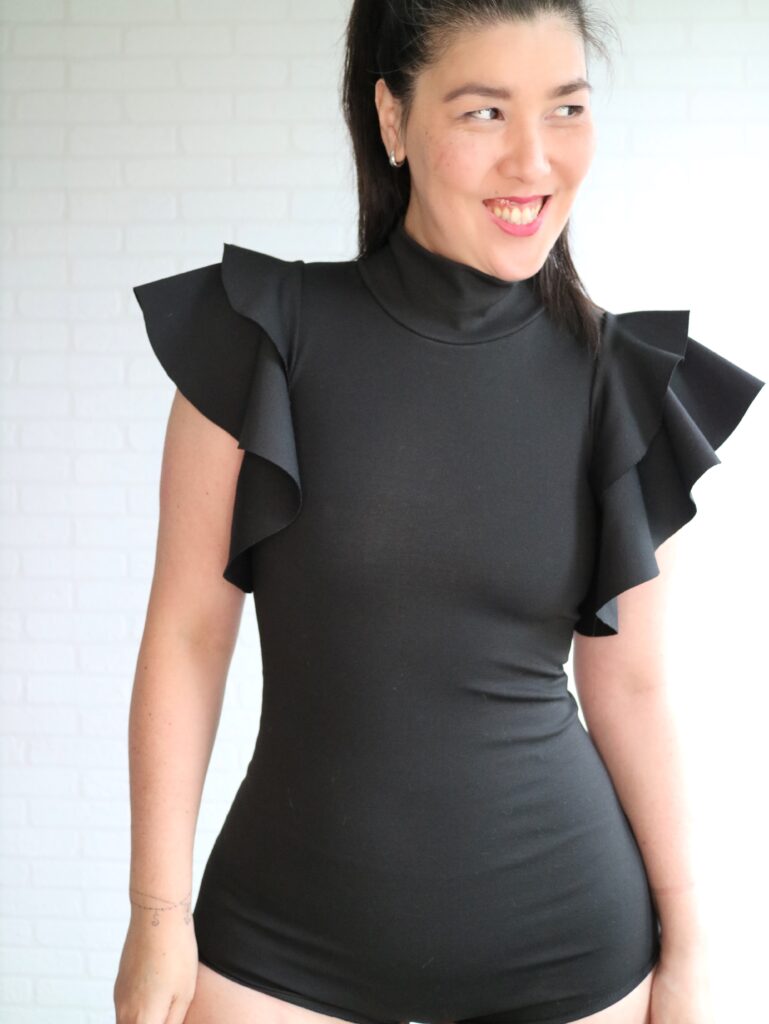
- For the sleeves, I cut 2 circle pieces each and attached them like a set-in sleeve.

- I calculated and cut it as I would a circle skirt: measured the armscye circumference and divided that number by 6.28, to get the measurement for the sleeve opening (the waist, if it was a circle skirt).
- For the length of my sleeves: The shorter circle is 3″ and the longer one 6″.
(I’m adding more detailed info for the circle sleeve/skirt at the bottom of the post)

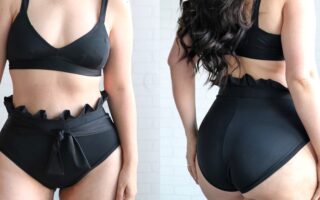
As I’m not a big fan of snap crotch closures (bad back doesn’t enjoy the bending and twisting haha), I planned on using a zipper on the back, the pattern already features a center back seam so it would be a simple solution.
Everything went according to plan… the zipper application was beautiful!
BUT then… I went to try it on and my bum wouldn’t go through the opening *facepalm*.
So, note to self: 20″ zipper is NOT long enough!!
And for reference… the bodysuit is a size 10 bust and waist and 20 hip.
So it now has a snap crotch closure. 😉

What would I do differently next time?
I’m pretty happy with it as it is, but if I’d be to nitpick it or just would like it even more dramatic, I’d make the sleeves a bit longer (maybe 2″ extra on each layer) and add horsehair braid to them. I forgot to mention earlier, but the reason I didn’t hem the sleeves is that I was afraid that the hem would add too much weight and make them droopy, and I wanted them to be as perky as possible. 😉
As for styling it…
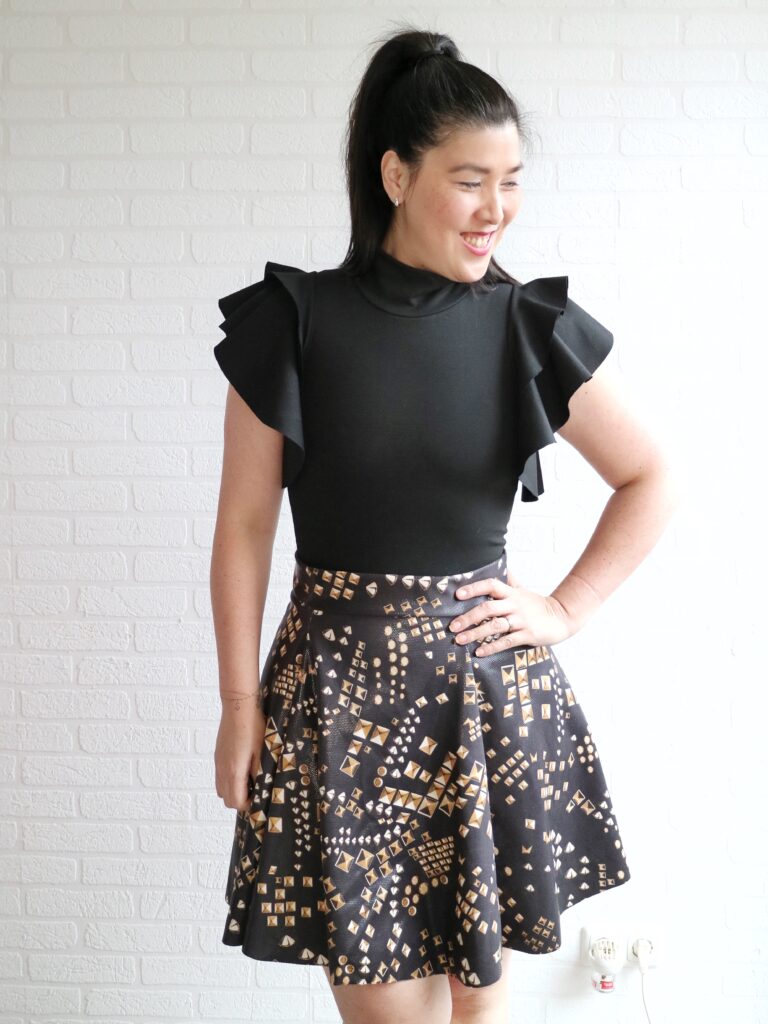

It looks super cute with the Seether skirt, but I think I’ll probably be pairing it more often with a pair of jeans.


Now let’s talk about those sleeves
For anyone wondering where the mysterious 6.28 I mentioned above comes from, it’s simply 2 × π (pi).
Sorry, but we’re about to do a tiny bit of math… I promise it’s not scary! 😅
To make things easier, I’ll refer to it as a circle skirt, because the process is exactly the same for these sleeves, just on a much smaller scale.
To cut a circle skirt, we start by folding the fabric twice so we have four layers. Then we need two measurements: the circumference (your waist for a skirt, or the armscye in the case of these sleeves) and the desired length.
Here’s where the magic number comes in. Since the circumference of a circle equals 2πr, dividing the circumference by 6.28 gives us the radius of the inner circle.

Or, in less math-y terms: it tells us how far from the folded corner we need to measure to get an opening that’s exactly the right size.
That radius is measured from the folded corner and drawn as a curve. For a skirt, that curve becomes the waist opening. For these sleeves, it becomes the armhole opening. Once that’s done, the hard part is over. Simply measure your desired sleeve length from that first curve and draw a second one. The area between those two curves is your sleeve.
For these sleeves, I used the armscye measurement instead of a waist measurement. The shorter layer extends 3″ from the inner curve, while the longer layer extends 6″.
And that’s all there is to it! When opened up, the sleeve becomes a full circle of fabric attached around the armhole, creating all that lovely flutter and movement without gathers, pleats, or any fancy sleeve drafting. ❤️
If got a little inspired to have a little hacking fun with Road Trip but don’t have the pattern yet, here’s the link to grab it 😉
ROAD TRIP BODYSUIT – George+Ginger
xxx
Livia
*this post contains affiliate links

Just love your creativity, you’re so talented 👏👏
Thank you so much, Chris! <3